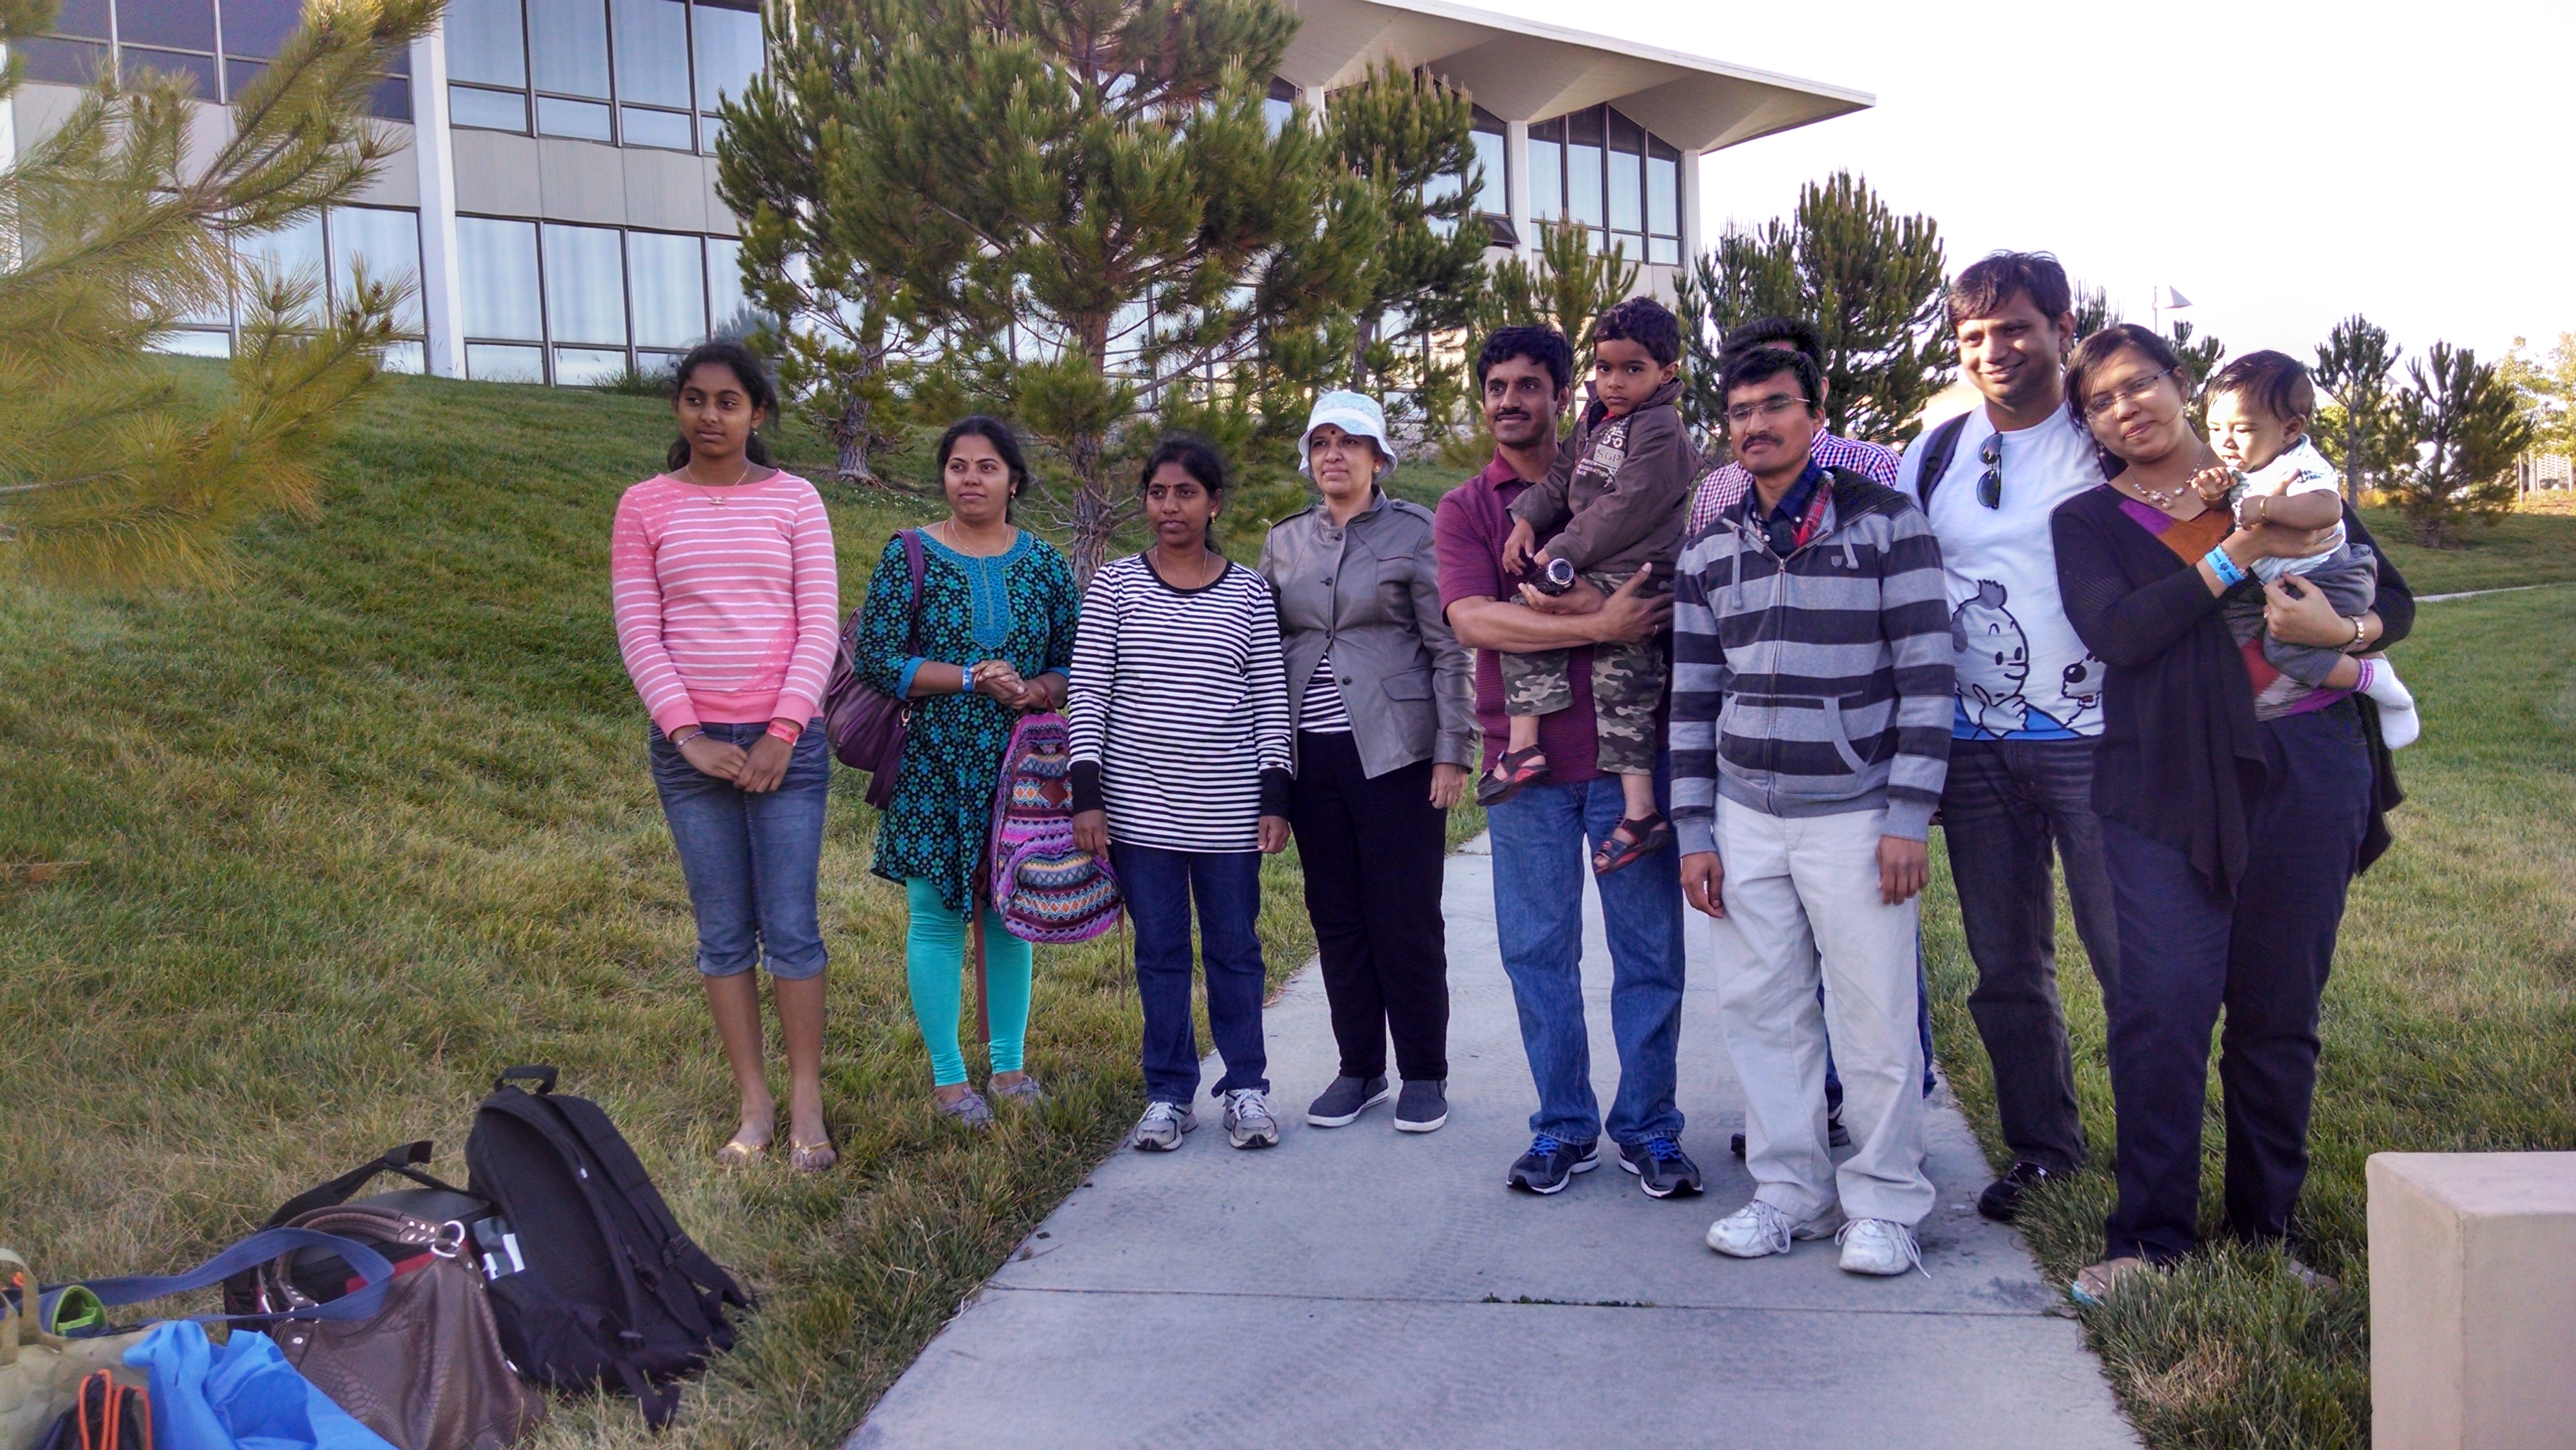
 We went to Maker Faire in the bay area as a group outing and had a wonderful time.
Here is the trip report by children who had been to Maker Faire for the first time. I hope this interests and inspires other families and children to attend Maker Faire next year and have a good time.
We went to Maker Faire in the bay area as a group outing and had a wonderful time.
Here is the trip report by children who had been to Maker Faire for the first time. I hope this interests and inspires other families and children to attend Maker Faire next year and have a good time.
By Praharshitha
Elementary School Student, Grade 5
Maker Faire was cool. It had all kinds of stuff. In the first building, I liked a few things: Hay hacker (3-D printer flash light making) and making an animal cell with modeling clay.
Hay hackers group: It had a robot dog that barks, jumps and sticks it head out. There was also a scrarecrow that waved its hand.
 Front portion of flashlight:
Flash-light with 3-D printer: In the hay-hackers, I built a flash light. First you get an LED light and see which metal connector is longer. The longer one is positive. The shorter one is negative. You take the positive metal connector and bend it upwards. Then you take a button cell (small disc battery) and put the button cell with words facing up on the table. Finally you take the case, put the LED with the negative metal connector facing down and slip in the LED between the two metal connectors. Now you put the lid on and you are done. When you press the lid, the positive metal connector touches the battery and that makes the circuit complete. When the ciruit is closed, the LED lights up. That's how I made the flashlight.
 Backside of the flashlight
The case and the lid that I used for the flashlight were made from the 3-D printer. At first, when my friend told me there was a 3-D printer in their library, I thought it was like you put in a paper with picture, and when the printer prints it, the object pops out. But it is not like that. The 3-D printer does not use ink. It uses plastic or wax instead. The plastic thread goes to the injecting (printing) tip. The tip melts the plastic and the tip moves in a shape which makes the case and lid. It is not exactly like a regular printer.
Cell-model:
Another thing I did was an animal cell model. I made it out of clay.
 The picture of the model cell
First I got a round purple ball with holes. That is the nucleolus. Then we cover it with white clay. That is the nucleus. Then we put the centrosome. Then we put the Mitochondrion which gives energy to the cell.
 Its unimpressive outer look (cell membrane)
After we put the Mitochondrion, I put the Vacuole. Vacuoles are like closets. They store things (eg. Waste products). Finally I put the rough Endoplasmic Reticulum. It is for transportation through out the cell. Then for the covering the last part, we could choose any color for the cell membrane. After one week, at home, I cut the model cell in two halves and I saw all the parts that I put in the cell and it very nice.
Another favorite things in the first building was the pinball cart. You could play pinball game inside the cart. There were three machines. They were all fun.
On the second building, it was full of light. At 4:30, there was an electric arc show. It was so loud.
RadioShack:
 Front side of the blinking badge
When we got out of the building, we saw the radioshack tent. When I saw the sign that said theme Soldering, I thought it was about soldiers. It was weird for RadioShack having a Social Studies class. But when I went in, it wasn’t about soldiers. It was about connecting metal parts. In there, I built a blinking circuit board in the form of a badge. First I got all the materials for the badge and got an instructor. The instructor asked to hold the soldering rod with its tip touching the lead wire. There were lead vapors coming out. My dad said not to breathe it in. I had to be careful in handling the iron rod so as not to touch the electric wire connected to it. Because the iron was 700F degrees hot!
 Back side of the blinking badge
I took the LED and put it in the board. When I was soldering, I melted too much lead which formed a blob. My instructor said to keep blob heated to avoid its hardening. We put a copper wire to absorb the blob but it was difficult. Then we tried sucking up the blob with a device. That worked! Next we soldered the other side and now comes the test to see if our badge is going to work. Last, we slipped in the battery and the LED worked and it was blinking! We were done.
In the third building, all I saw was plants.
Deepak
Middle School Student, Grade 7It was a pleasant experience at the maker faire. There were a whole bunch of interesting things at the maker faire. I surely didn’t see all of maker faire, but I did like what I saw. The first interesting thing was the Lego build that they had. It was cool that they could make a miniature London at the Faire. I wonder how much they spent on the build and how long it took them. Speaking of Lego, I also saw the Lego RC car. It was a bit noisy since it was plastic but I would have liked it if it went a little faster. One thing I didn’t like there was the drone fight inside. They should have let kids the ages over 13 to fly the drones, especially me…( I can fly that thing like a charm) I understand that the drones are very expensive but they should have took a chance with me. This is the one thing I hated. Going back to the things I like, I went over to Nvidia booth. They were showing off their CUDA cores with their 4 Titan graphics cards. CUDA cores let the GPU do both graphic performances and can be used for general use. I also played Project Cars in 4K! The detail was amazing and all of this was powered by those Titans. I got a 8gb thumb drive(flash drive), so that was cool. They had the Nvidia Shield showcased. It is basically a mini gaming console. They were just trying show how good their Tegra processor was. At Intel, there wasn’t much other than some processors. I found a computer with AMD processors installed at the INTEL booth. There was a machine that picked up little stones of the ground and it was powered by Intel and Alienware. I then got to the dragster car at the edge of the Maker Faire. They even started the engine and what a roar! I also found a fire breathing machine that was basically the bass for the orchestra that was playing. That was also a another cool thing at Maker Faire. These were the most interestings things I saw at the maker faire.
Harini
Middle School Student (Grade 7) Maker's Fair Experience
Since this was my first time going to the maker's fair, I didn't expect to see so many new innovations in technology. I thought it was a great experience because the people worked very hard to create something, and they are very excited for other people to look at their new and creative ideas.
Overall, I noticed that most of the people made inventions relating to robotics, however, there were other types too. For
example, when I first entered the building, there was a booth where they made crafts out of tape called tapigami. This was interesting to me because it reminded me of origami which is made out of paper. But this is made out of tape instead. I think that this was a very creative idea.
Another thing that I liked was the chess playing machine. I had never seen anything like this before. I liked this idea the most because if you don't have anybody to play chess with, then you can play with a machine instead. It also might be more challenging for some people based on their skill level.
There was also a place where kids made their rockets following the instructions and it was launched into the air. This was also one of my favorites because how the rocket was made affected the outcome of the launch, and it was fascinating to see different variations of the same type of rocket.
I had fun exploring the maker's fair and I'm excited to come back again next year to see many more new ideas in technology.
Senthil
In general, this year's Maker Faire was awesome as usual. I had a chance meeting with Salman Khan of Khan Academy and I was extremely happy for that. I took a photo with him and shared about some of the sourashtra translation that I had attempted. This made my day already and I felt everything beyond was a bonus.
There are two events that captured my attention during this Maker Faire which I wanted to note down and preserve it. There was this booth called "Make Rockets Here" , where children and parents were making paper rockets and a gentleman was launching those paper rockets. It was a craft and people were busy creating and flying their paper rockets. I observed the joy of kids as one rocket after the other shot up into the air.
There was one rocket which which caught my attention, amongst 100s of rockets being made. This one was strikingly good, when the kid took that rocket to the person was launching, he looked at and appreciated, he said there is a "there is good feel to it and this will definitely go very high". This kid's parent had accompanied him and the person looked at him with respect, appreciating the care they had put in creating that paper rocket. And it turned out that particular the rocket did fly very high. Putting care and attention into stuff, no matter what, really ends up in good results.
The other project that caught my attention was mechanical chess playing arm. I got curious to know how it works, because it is both a mechnical challenge (The Arm Part) and a computer challenge (playing the chess). I talked with the engineer behind it and he shared that he has a RFID chip on all the chess pieces as well as on the squares on the board and the information from that is transfered to the computer in the arm. That simplifies it a lot. The information that is required to play is available in the form of chess coordinates and the chess playing program can easily interpret the coordinates and return the next move. This move information can then be given the mechnical arm and it can pick the pieces based on the RFID and place it the correct stop. Yeah, picking the pieces was the tricky one and the engineer was very proud that he could accomplish his. If you like playing chess, this chess playing arm can might be a great companion for you at your home.
 We went to Maker Faire in the bay area as a group outing and had a wonderful time.
Here is the trip report by children who had been to Maker Faire for the first time. I hope this interests and inspires other families and children to attend Maker Faire next year and have a good time.
We went to Maker Faire in the bay area as a group outing and had a wonderful time.
Here is the trip report by children who had been to Maker Faire for the first time. I hope this interests and inspires other families and children to attend Maker Faire next year and have a good time.


